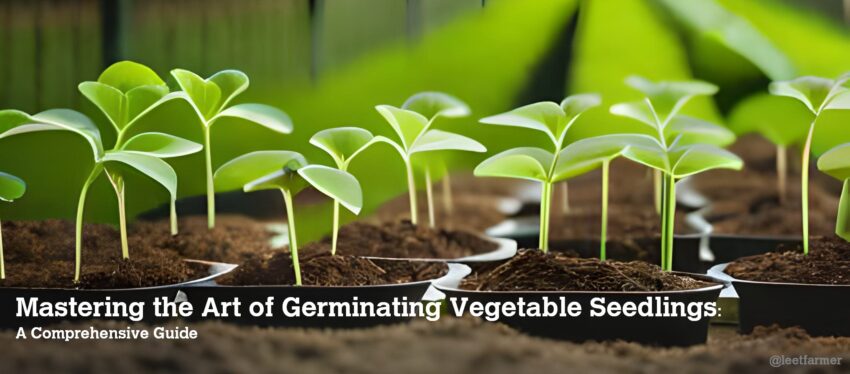
If you’ve ever marveled at the thought of growing your very own vegetable garden from scratch, you’re in for a treat. Germinating vegetable seedlings is a gratifying journey that brings you closer to the miracle of plant life. In this detailed guide, we’ll walk you through the entire process, from sowing the seeds to nurturing healthy young plants. Let’s dive in!
1. Sowing the Seeds:
- Seed Selection: Start by choosing high-quality seeds from reputable sources. Select seeds that are fresh and suitable for your climate and region. I recommend True Leaf Market.
- Seed Depth: Different vegetables have varying germination requirements. As a general rule, plant seeds at a depth that is approximately 2-3 times their diameter. Read the seed package for recommended planting depth.
- Planting Medium: Use a well-draining seed starting mix to provide optimal conditions for germination. Fill seed trays or pots with the mix, use your finger or the end of a pen to create a hole for the seed, insert seed and cover. There is no need to pack the soil. Slowly and lightly water the soil, try not to pour the water fast enough to cause the dirt to displace.
2. Success Rate Expectations:
- Germination rates vary based on the vegetable type. Some seeds, like lettuce and radishes, can sprout within a few days, while others, such as peppers and tomatoes, might take a couple of weeks.
- On average, aim for a germination rate of 70-90%. Not all seeds will sprout, and some might need a little extra time.
3. Ideal Temperature and Humidity:
- Temperature: Most vegetable seeds germinate best at temperatures between 70-80°F (21-27°C). Using a seed heating mat can help maintain a consistent temperature.
- Humidity: Keep the humidity levels high, around 70-80%, to create a moist environment for seed germination. Covering the trays with clear plastic or using a humidity dome can help retain moisture.
4. Water and Nutrient Requirements:
- Watering: Use a gentle misting or a bottom-watering approach to keep the soil evenly moist. Avoid overwatering, as it can lead to fungal issues.
- Fertilization: At the germination stage, seeds usually have enough nutrients within their seed coat. Wait until the first true leaves appear before applying a diluted, balanced liquid fertilizer.
5. Light Requirements:
- Light Type: Provide ample light to ensure healthy seedling growth. If natural sunlight is limited, consider using fluorescent or LED grow lights.
- Light Duration: Aim for 14-16 hours of light per day to encourage robust growth.
6. Timeline Expectations Based on Cultivar:
- Quick Sprouters (3-7 days): Lettuce, radishes, spinach, arugula.
- Intermediate (7-14 days): Beans, peas, carrots, chard, beets.
- Slow Germinators (10-21 days): Peppers, tomatoes, eggplants, cucumbers, squash.
7. Transplanting:
- Once seedlings have developed at least two sets of true leaves, they’re ready for transplanting into larger pots or directly into your garden.
- Harden off seedlings by gradually exposing them to outdoor conditions, starting with a few hours of sunlight and increasing the time each day.
8. Troubleshooting:
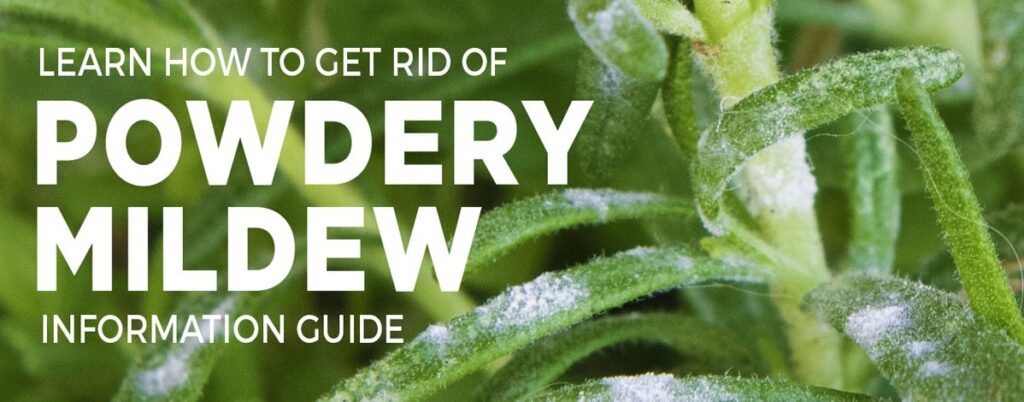
- Damping Off: This fungal disease can affect seedlings. Ensure good air circulation, use clean planting medium, and avoid overwatering.
- Leggy Seedlings: If seedlings appear tall and weak, they might not be receiving enough light. Adjust the light source to encourage sturdy growth.

9. Celebrate Your Success:
Germinating vegetable seedlings is a rewarding experience that allows you to witness the miracle of life firsthand. As your seedlings grow into healthy young plants, you’ll be one step closer to enjoying homegrown, flavorful produce straight from your garden.
Remember, each vegetable has its unique requirements, so don’t be disheartened if some seedlings take longer to sprout than others. With patience, care, and a little bit of green thumb magic, you’ll have a thriving vegetable garden in no time! Happy gardening!


